Part 1: A Blogging Side Challenge Worth The Effort
Disclaimer: The following information is provided for educational purposes only. We may earn affiliate commissions from the products and services mentioned in this article, but rest assured; our opinions remain unbiased and focused on helping you start your blogging journey.
Explore Related Topics: Money
In this Article
Disclaimer: The following information is provided for educational purposes only. We may earn affiliate commissions from the products and services mentioned in this article, but rest assured, our opinions remain unbiased and focused on helping you start your blogging journey.
So you’re ready to embark on an exciting blogging journey? Even despite all the tiktokers stating how dead it is? Good, then you are part of the few who truly understand the world of Web 2.0.
Since social media came into play, many believe that blogging is a dead-man game. But it’s quite the opposite. It’s actually the very foundation that made all of these tools relevant.
Honestly, blogging is one way you can stay relevant with minimal effort. We hear compounding interest for your investments, but what about taking that same method and doing it for content?
In the beginning, it will seem like a lot of work, and it is. But once it is set up, you can figure out a schedule that best fits your goals.
In this blog post, we’ll guide you through the essential steps of getting started. From registering a custom domain name to choosing the best web hosting, we’ve got you covered — So let’s dive in.
Registering a Custom Domain Name for Free with WordPress.org
Many sites are now available for you to use, but I like WordPress because you can get the name for free, and build everything up on that. To get started, you will need a domain name.
What is a Domain Name? A domain name is the web address where users can find your blog. When you are creating a name you want to be memorable. Think 🤔 catchy but interesting. It’s like your social media handle for your profile, but your profile happens to be your actually webpage.
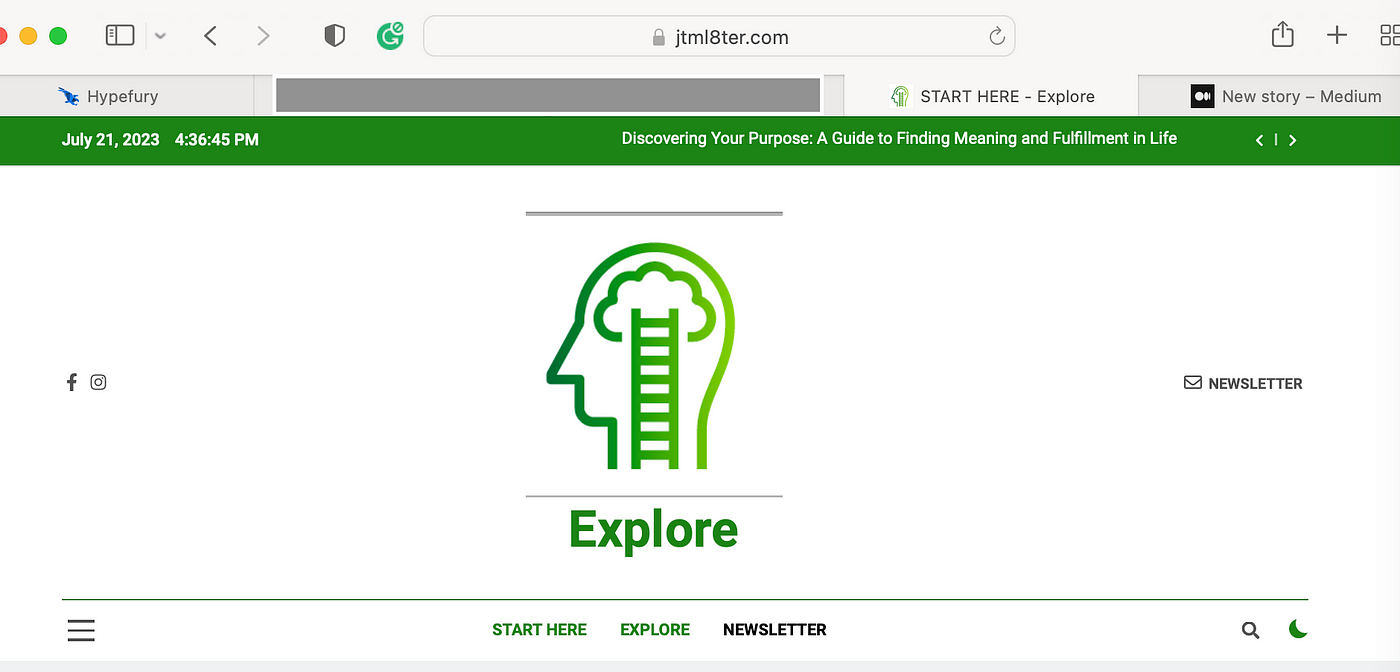
Here is mine:

For me, I created a blog called JTML8ter. Its short for just thank me l8ter. My goal is to just write about different topics to help the next person out. That’s it. Once I have a foundation, I will open up for others to contribute and do the same.
Pick a Hosting Platform
Once the domain name is picked, you’ll need to find a place for your content to be housed. Web hosting is the service that allows your blog to be accessible online.
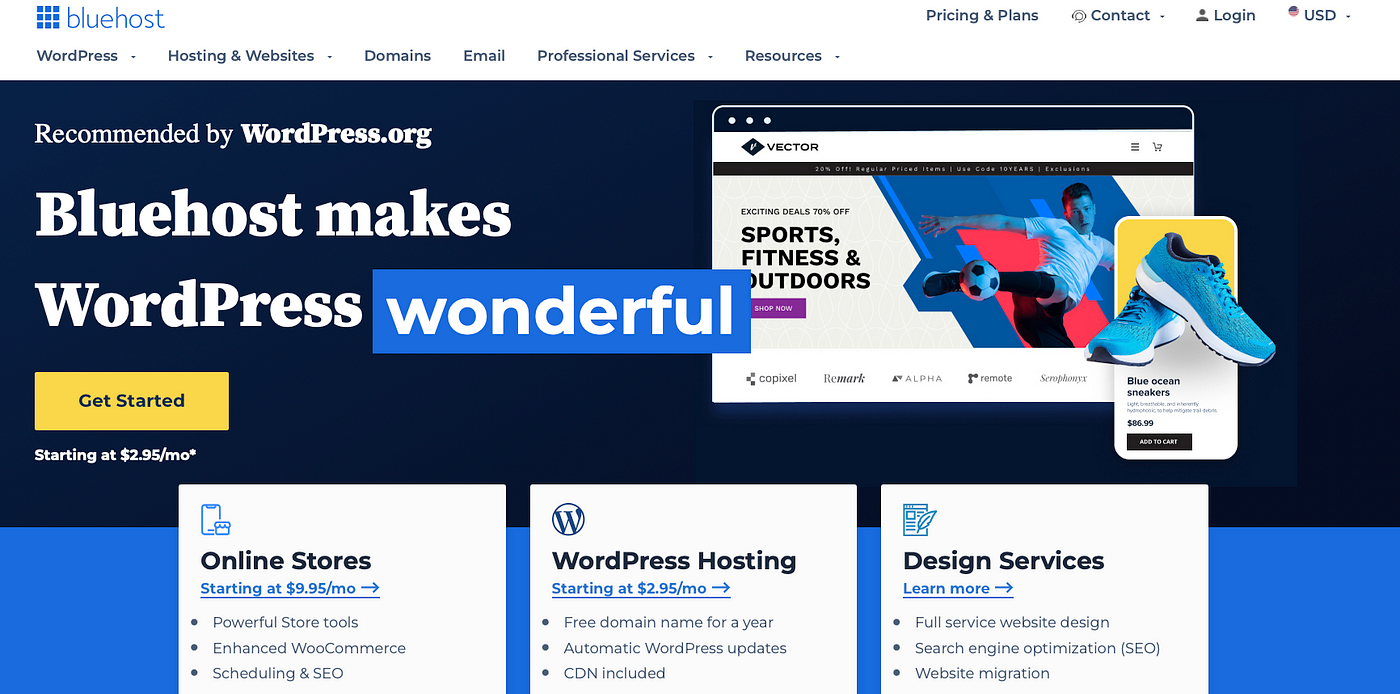
I recommend Bluehost, especially for beginners, as they offer reliable hosting services and a free domain name for the first year. They also have a support feature that’s easy and available whenever you need them.

Why Bluehost?
Bluehost is an excellent option for new bloggers due to its user-friendly interface. I stumbled on them by accident. I kept hearing between them and go-daddy. I heard some reviews from others that were not so keen on Go-daddy so, I decided to give them a try.
Their customer service is also beneficial as well. Especially if you have no idea what you’re doing. They have saved me so much that it just wouldn’t be right not to speak on them.
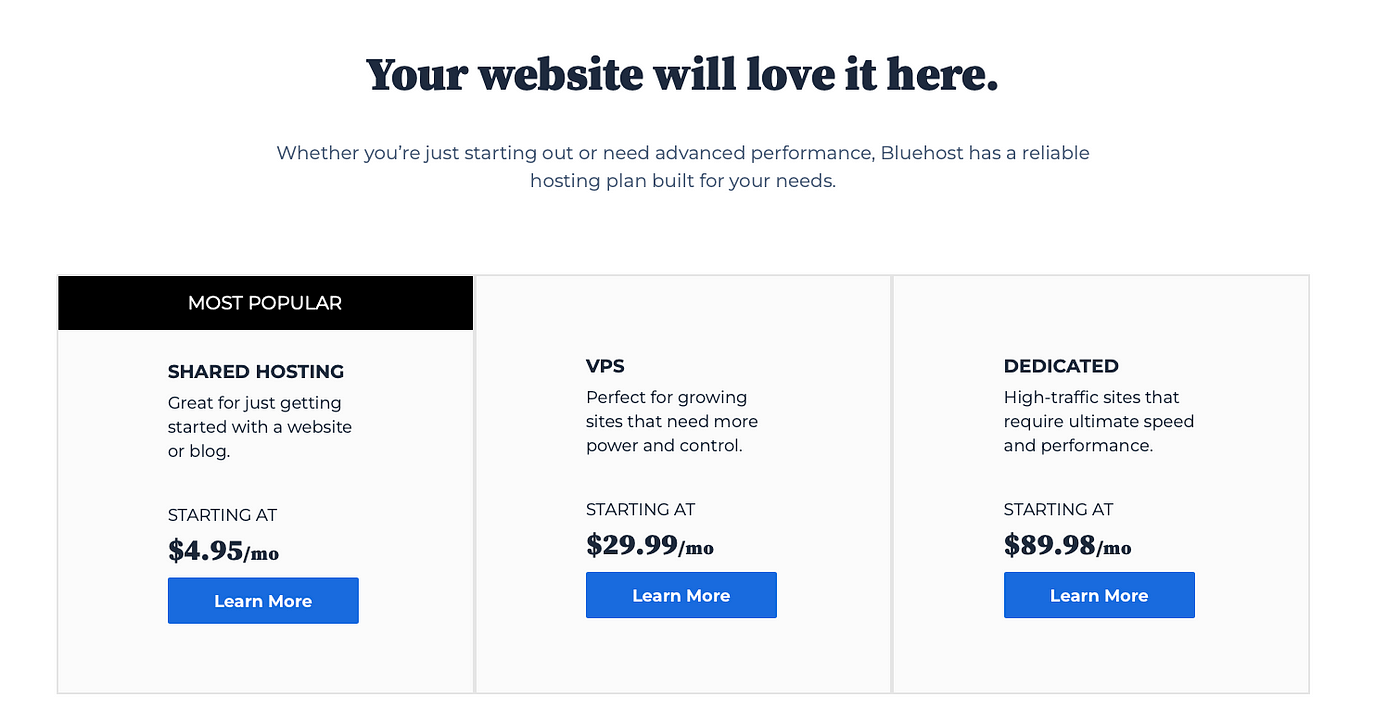
Pricing varies but you can find some good deals normally that make the price really reasonable. I recommend when getting started to do the shared hosting and then once you have an audience, build from that.

Installing and Setting Up Your WordPress Blog
- Visit Bluehost’s website, and select a hosting plan that suits your needs, then follow the prompts to register your domain name.
- Once you’ve signed up with Bluehost, they’ll automatically install WordPress. Once you’re in the home tab of your Bluehost account, click the “Login to WordPress” button to start building your blog.

screenshot by author
3. Exploring WordPress: Now that you have the base together it’s time to actually build out the blog. But to do this, you must understand how you will do it.
Take some time to explore the WordPress dashboard, which is the back-end of your blog. Familiarize yourself with the various settings, customization options, and tools to personalize your blog.
Final Thoughts
Congratulations! You’ve successfully set up your blog and taken the first steps toward blogging success. In the next part of our series, we’ll guide you through changing your blog’s design template, writing your first blog post, and customizing your WordPress blog with plugins. Stay tuned for more valuable tips and insights on your blogging journey.
Frequently Asked Questions:
What is a custom domain name, and why is it important for my blog?
A custom domain name is the unique web address that users will use to access your blog. It is essential because it establishes your blog’s identity, enhances branding, and makes it easier for readers to remember and find your blog on the internet.
Why is Bluehost recommended as a web hosting service for beginners?
Bluehost is recommended for beginners due to its user-friendly interface, reliable performance, and excellent customer support. They also offer a free domain name for the first year, making it a cost-effective option for those just starting their blogging journey.
How do I install and set up my WordPress blog with Bluehost?
To install and set up your WordPress blog with Bluehost, you need to visit their website, choose a hosting plan that suits your needs, and register your domain name. Bluehost will automatically install WordPress for you. Once installed, you can log in to your Bluehost account and access the WordPress dashboard to start building and customizing your blog.
What can I do with the WordPress dashboard, and how do I personalize my blog?
The WordPress dashboard is the back-end of your blog, where you can manage and customize your blog’s content, design, and settings. You can explore various options to personalize your blog, such as choosing a design template, writing and publishing blog posts, and adding functionality through plugins. Take some time to familiarize yourself with these features to create a unique and engaging blog for your readers.


